Here’s my Saturday ZBrush study — an auger seashell, one of those common and lovely thin spiraled shells.
Below is the process!
Step 1: Create base spiral with the Spiral3D tool preset.
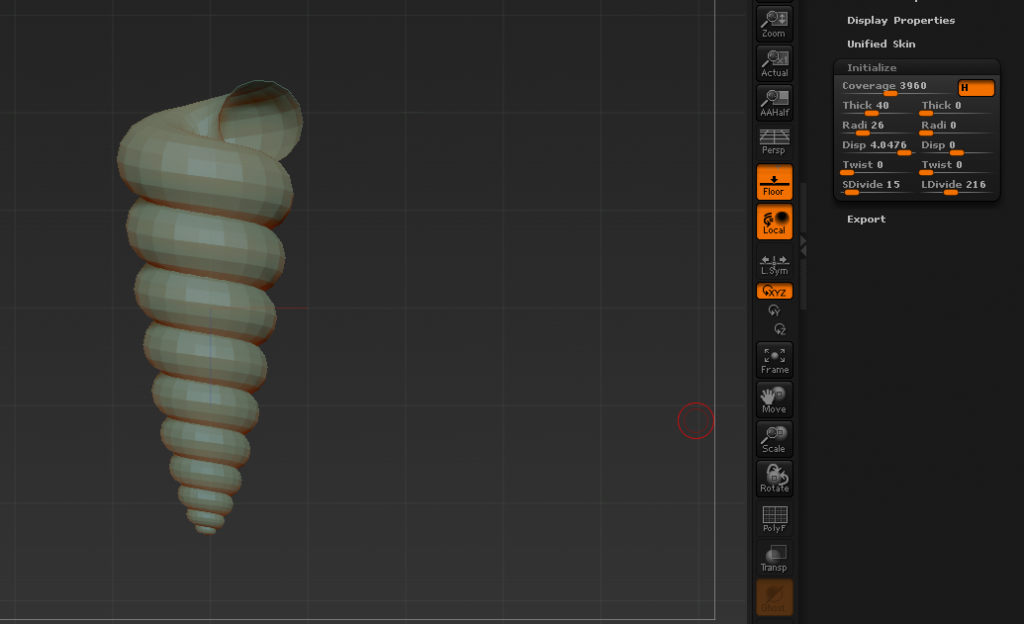

Step 2: Use large scale size adjustments to get overall proportions right:
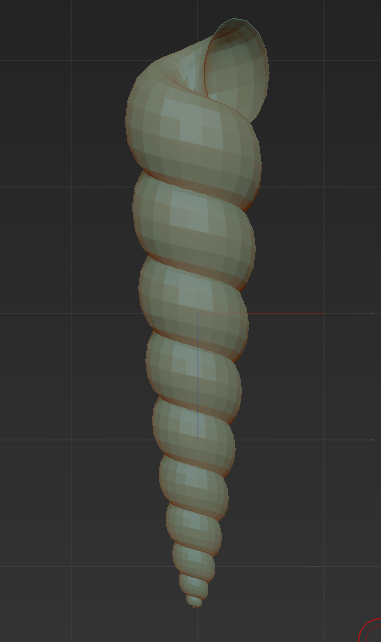

Step 3: Establish the second ridge along the spiral — this was a little tricky; you can’t change the profile of the shape that creates the spiral in ZBrush (automatically a circle). Best solution I found was to create an ambient occlusion mask, grow/sharpen it, and then use that to get that second ridge, going back and fine tuning the result a bit.
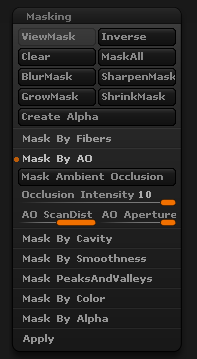
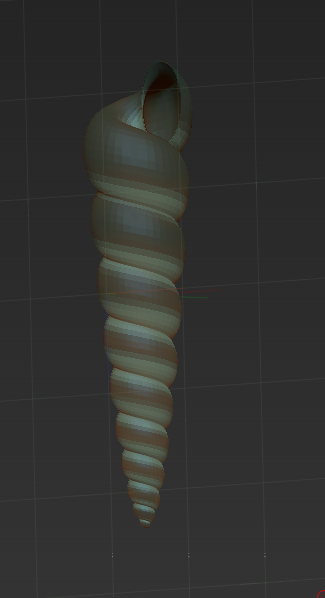


You can see the result below isn’t perfect, but some simple brushwork cleaned it up.
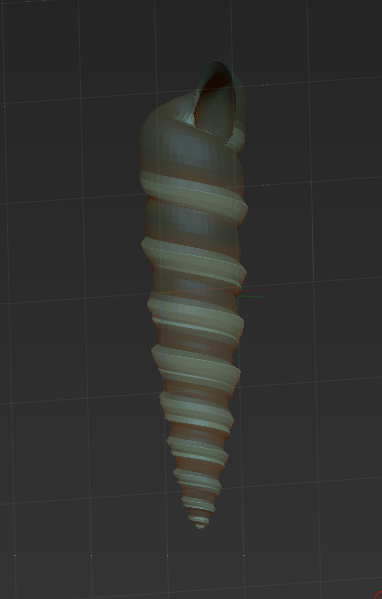

4. Add details:
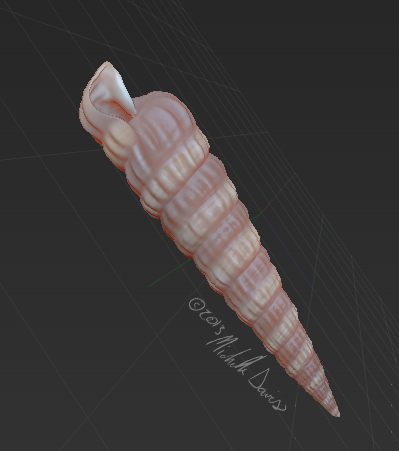
Then I extracted the mesh to provide some thickness, and also flipped the model (was building it backwards before!)
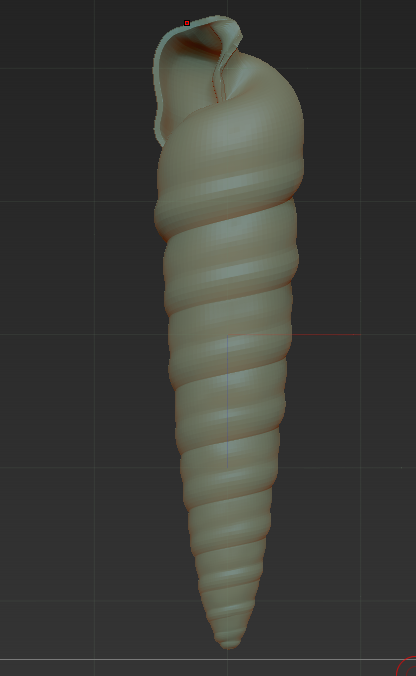
Then I extracted the mesh to provide some thickness, and also flipped the model (was building it backwards before!)

Now for the striations! I needed a mask though to separate the top and bottom ridges. Did that pretty quickly manually. This was also saved as a Polygroup so I could get to it again and again.
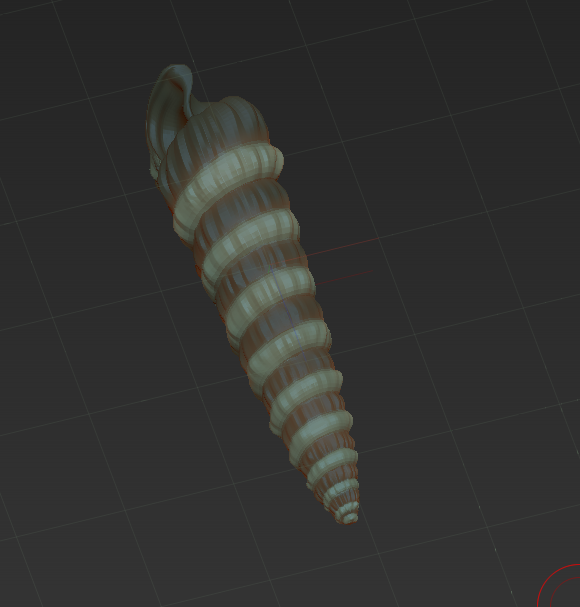

5. Polypainting and finessing: There are always little adjustments to be made, and I added the horizontal striations of the model and gave it 1 or 2 more subdivision levels.

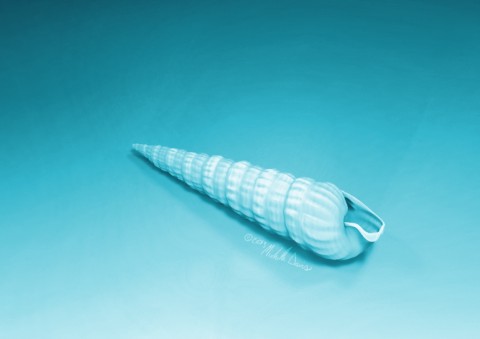
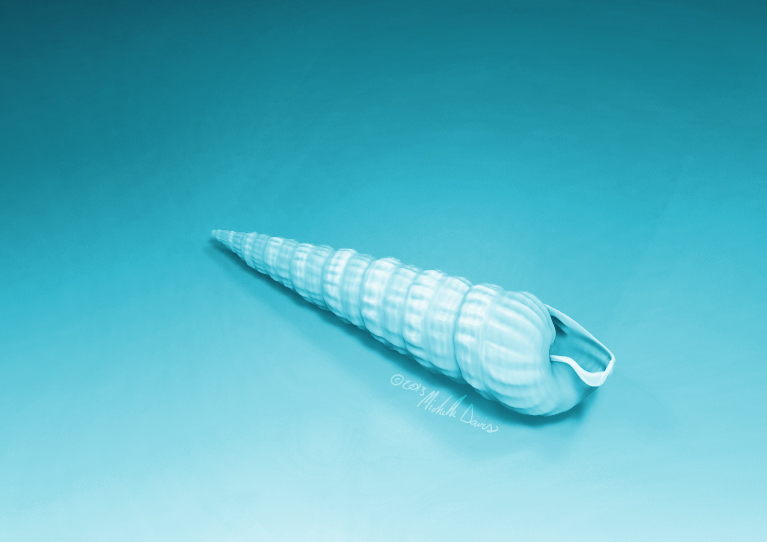
The final render is at the top – even though I polypainted the model I ended up doing a blue/teal version anyways with Photoshop. But now I have the polypaint established if I need it in the future. Maybe next up will be a cross section view of this shell!
Wow your artwork is so beautiful :DD
I must say that your passion for the medical art field has really inspired me with my passions too as an artist. It is great you have taken advantage of the 3d tech and printing. Did you self-teach yourself how to use these programs? Do you 3d print from home or do you use a 3d printing service? Awesome and inspirational work. Thank you for sharing.
Thank you! I learned some 3D from my graduate program – Georgia Regents University -, though zbrush I’ve learned myself; there are so many great resources online to benefit from! Regarding 3D printing, I’ve used a variety of different companies, but have always preferred to let someone else do the production so that I can focus on the design and sculpt itself. That, and home 3D printing is mostly lower res and in plastics – sending my files out lets me experiment in a variety of different materials and metals.